9 Shop Techniques to Minimize Wood Waste When Cutting Sheet Materials

Most of the material you throw away is decided before the blade ever touches the sheet: in how you chose the stock, which parts you grouped, the order you cut them, and whether that awkward leftover becomes usable material or a triangle in the scrap bin. The saw does not waste wood. Planning does.
This guide covers the hands-on side of that planning: the shop habits and cutting methods a woodworker builds up over hundreds of sheets. Software can solve the geometry of a single layout in seconds, and we cover where that fits, but a tool cannot decide which parts belong in one run, when it is safe to break grain, or where the knot in the sheet should end up. Those calls are craft, and that is where the material savings live. Here are nine techniques that push waste down toward 5 to 10 percent on cabinet and furniture work.
1. Start Your Plan From the Sheet, Not the Part
Beginners size parts first and then hunt for stock that fits. Experienced cutters work backward: they design parts to divide cleanly into the sheet they buy. A full 2440 x 1220 mm sheet rewards part dimensions that share factors with 2440 and 1220.
Three parts at 400 mm wide sit across a 1220 mm sheet with room to spare. Size them at 430 mm and the third no longer fits across the width, so you open a second strip and strand most of the first. Nudging a shelf depth by 20 to 30 mm at the design stage, where it rarely matters, often saves a whole strip. Before you commit part sizes, check them against the stock you actually buy; our guide to standard sheet sizes lists the common dimensions worth designing around.
2. Cut the Biggest Parts First and Keep Offcuts Rectangular
Cutting order is the technique most hobbyists underuse. The goal is not just to get parts off the sheet; it is to make sure every cut leaves behind something still worth keeping. Cut the largest parts first, and make early cuts full, straight, edge-to-edge cuts that split the sheet into the two largest useful rectangles.
The failure mode is the opposite: chasing a small part in the middle of a fresh sheet, which orphans a thin L-shaped strip nothing can use. On a table saw or panel saw you are limited to full-width cuts anyway, so plan the sequence as clean rips and crosscuts. The test for every cut is simple: afterward, are both pieces still rectangles I would happily store?
3. Only Lock Grain Direction Where It Actually Shows
Grain constraints are the single biggest source of self-inflicted waste. Every part you force to run one way removes an option from the layout. On visible surfaces this is non-negotiable: drawer fronts, door panels, face frames, and a run of sides that sit together should share grain so the piece reads as one.
But most parts in a cabinet are never seen: bottoms, backs, nailers, hidden shelves, and drawer boxes. On those, grain is structural at most and cosmetic never. Letting even a third of your parts rotate freely opens up far tighter nesting, and saving 5 to 10 percent of material by relaxing grain on hidden parts is common. Mark each part on your cut list as grain-locked or free, and be honest about which is which.
4. Account for Kerf and Edge Trim on Every Cut
Two quiet thieves show up on every sheet. The first is kerf, the slice the blade turns to dust: roughly 3 mm for a table saw, 2.4 to 2.8 mm for a track saw, and 6 to 8 mm for a CNC router bit. It looks trivial until you count cuts.
| Cuts per sheet | Kerf | Total lost to kerf |
|---|---|---|
| 5 | 3 mm | 15 mm |
| 10 | 3 mm | 30 mm |
| 20 | 3 mm | 60 mm |
| 30 | 3 mm | 90 mm |
The second thief is the factory edge. Sheet edges are rarely dead straight or square and often chipped from shipping, so most careful cutters trim 5 to 10 mm off two reference edges before cutting real parts. That is right for quality, but it means your usable sheet is smaller than the sticker size. Assume a full 2440 x 1220 mm, then trim 10 mm off two sides, and you have quietly lost the room a part was counting on. Plan the kerf and the trim in from the start; our saw kerf explainer covers how to measure and set yours.
5. Nest Small Parts Into the Leftover Windows
Once the big parts are placed, a sheet still has pockets of open space: the strip beside a tall side, the square under a short shelf, the band along one edge. Those windows are where drawer sides, spacers, edging, shims, and jig stock come from at no extra material cost.
Keep a running list of small parts, and a few standing shop needs, ready to drop into whatever gaps appear. Instead of opening a fresh sheet for a handful of little parts, you consume space you already paid for. Small parts are the mortar between the bricks; do not cut them from clean sheets when yesterday's layout left the perfect gap.
6. Batch Similar Parts and Whole Projects Together
The more parts you plan at once, the tighter the packing, because the layout has more pieces to shuffle into every gap. Planning two matching cabinets as one job almost always beats doing them one after another. Ten parts on two sheets leaves less room to maneuver than twenty parts across four, where a leftover space on one sheet can usually be filled by a part bound for another.
Batch by material and thickness first: run all the 18 mm birch parts as one plan, all the 12 mm backs as another. If a small job is waiting and shares a material, fold it into the current run. Cutting the same-size parts in one fence setup is faster and more consistent, too.
7. Read the Sheet: Plan Around Knots, Voids, and Damage
Sheet goods are not perfect. Plywood hides interior voids, faces carry patches and football repairs, and corners arrive crushed. Finding a void halfway through a visible part is how a good sheet becomes an expensive offcut.
So read the sheet before you cut. Walk both faces, tap for hollow spots along the edges, and mark every knot, patch, and damaged corner in pencil. Then place defects deliberately: put a chipped corner where a part gets trimmed anyway, hide a face patch on a cabinet back or shelf underside, and steer show surfaces to the clean areas. A minute of inspection routinely saves a part, because you cut around the flaw instead of into it.
8. Build an Offcut Library You Actually Use
Every shop generates offcuts. The difference between a tidy shop and an efficient one is whether they get used or just accumulate. An offcut is free material you already paid for, but only if you can find it and trust its size when the next job starts.
The working version is a small system, not a mountain of scraps. Keep pieces above a sensible threshold (roughly 300 mm on a side for panel work, smaller strips only if you genuinely use them) and be ruthless about the rest. Write the real dimensions on each piece in marker, store them upright and sorted by size, and keep a simple list of the useful ones. Then shop your own rack before you buy. A disciplined offcut habit quietly saves several sheets a year; our offcut management guide covers the labeling and storage in detail.
9. Let Software Solve the Packing (the One Step Worth Automating)
Everything above is craft: choosing parts, setting grain rules, reading the sheet, keeping an offcut rack. There is exactly one step in the process that is pure math, and it is the one humans are worst at: finding the tightest arrangement of many rectangles on a sheet. Laying that out by hand on graph paper typically leaves 15 to 25 percent waste, because the brain cannot test enough arrangements.
That is where a cut list optimizer earns its place. You still do the shop-side thinking: pick the parts, mark which are grain-locked, enter your real kerf and trim, and add your offcuts as available stock. The software then tries many arrangements, including rotations and cutting orders, and returns the layout that fits the most parts on the fewest sheets. It automates one step in a craft you still own; it does not replace the planning. You can run your own cut list free in the browser and see the layout before you touch the saw.
How the Techniques Stack Up
Not every technique is worth the same effort. Here is a rough ranking of typical material saved against the work each one adds. Treat the percentages as illustrative; your real numbers depend on part mix and material.
| Technique | Typical waste saved | Effort |
|---|---|---|
| Automate the layout (optimizer) | 10 to 20% | Low |
| Relax grain on hidden parts | 5 to 10% | Low |
| Design parts to sheet fractions | 5 to 10% | Medium |
| Use an offcut library | 5 to 15% over a year | Medium |
| Batch parts and projects | 3 to 5% | Low |
| Smart cutting order | 3 to 5% | Medium |
| Nest small parts into gaps | 2 to 5% | Low |
| Account for kerf and trim | Prevents miscuts | Low |
| Read and plan around defects | Prevents ruined parts | Low |
A Worked Example: One Sheet, One Bookcase
Picture a bookcase from a single 2440 x 1220 mm sheet of 18 mm plywood (a close cousin of the project our plywood cut list guide optimizes step by step — that one adds a 6 mm back panel, which needs a sheet of its own material and is why it lands on two sheets): two sides at 1800 x 300 mm, a top and bottom at 764 x 300 mm, four shelves at 728 x 280 mm, plus a few small cleats. A rushed cutter rips a side from the middle, chases a shelf, and ends with two odd L-shaped leftovers and a second sheet opened for the last shelf.
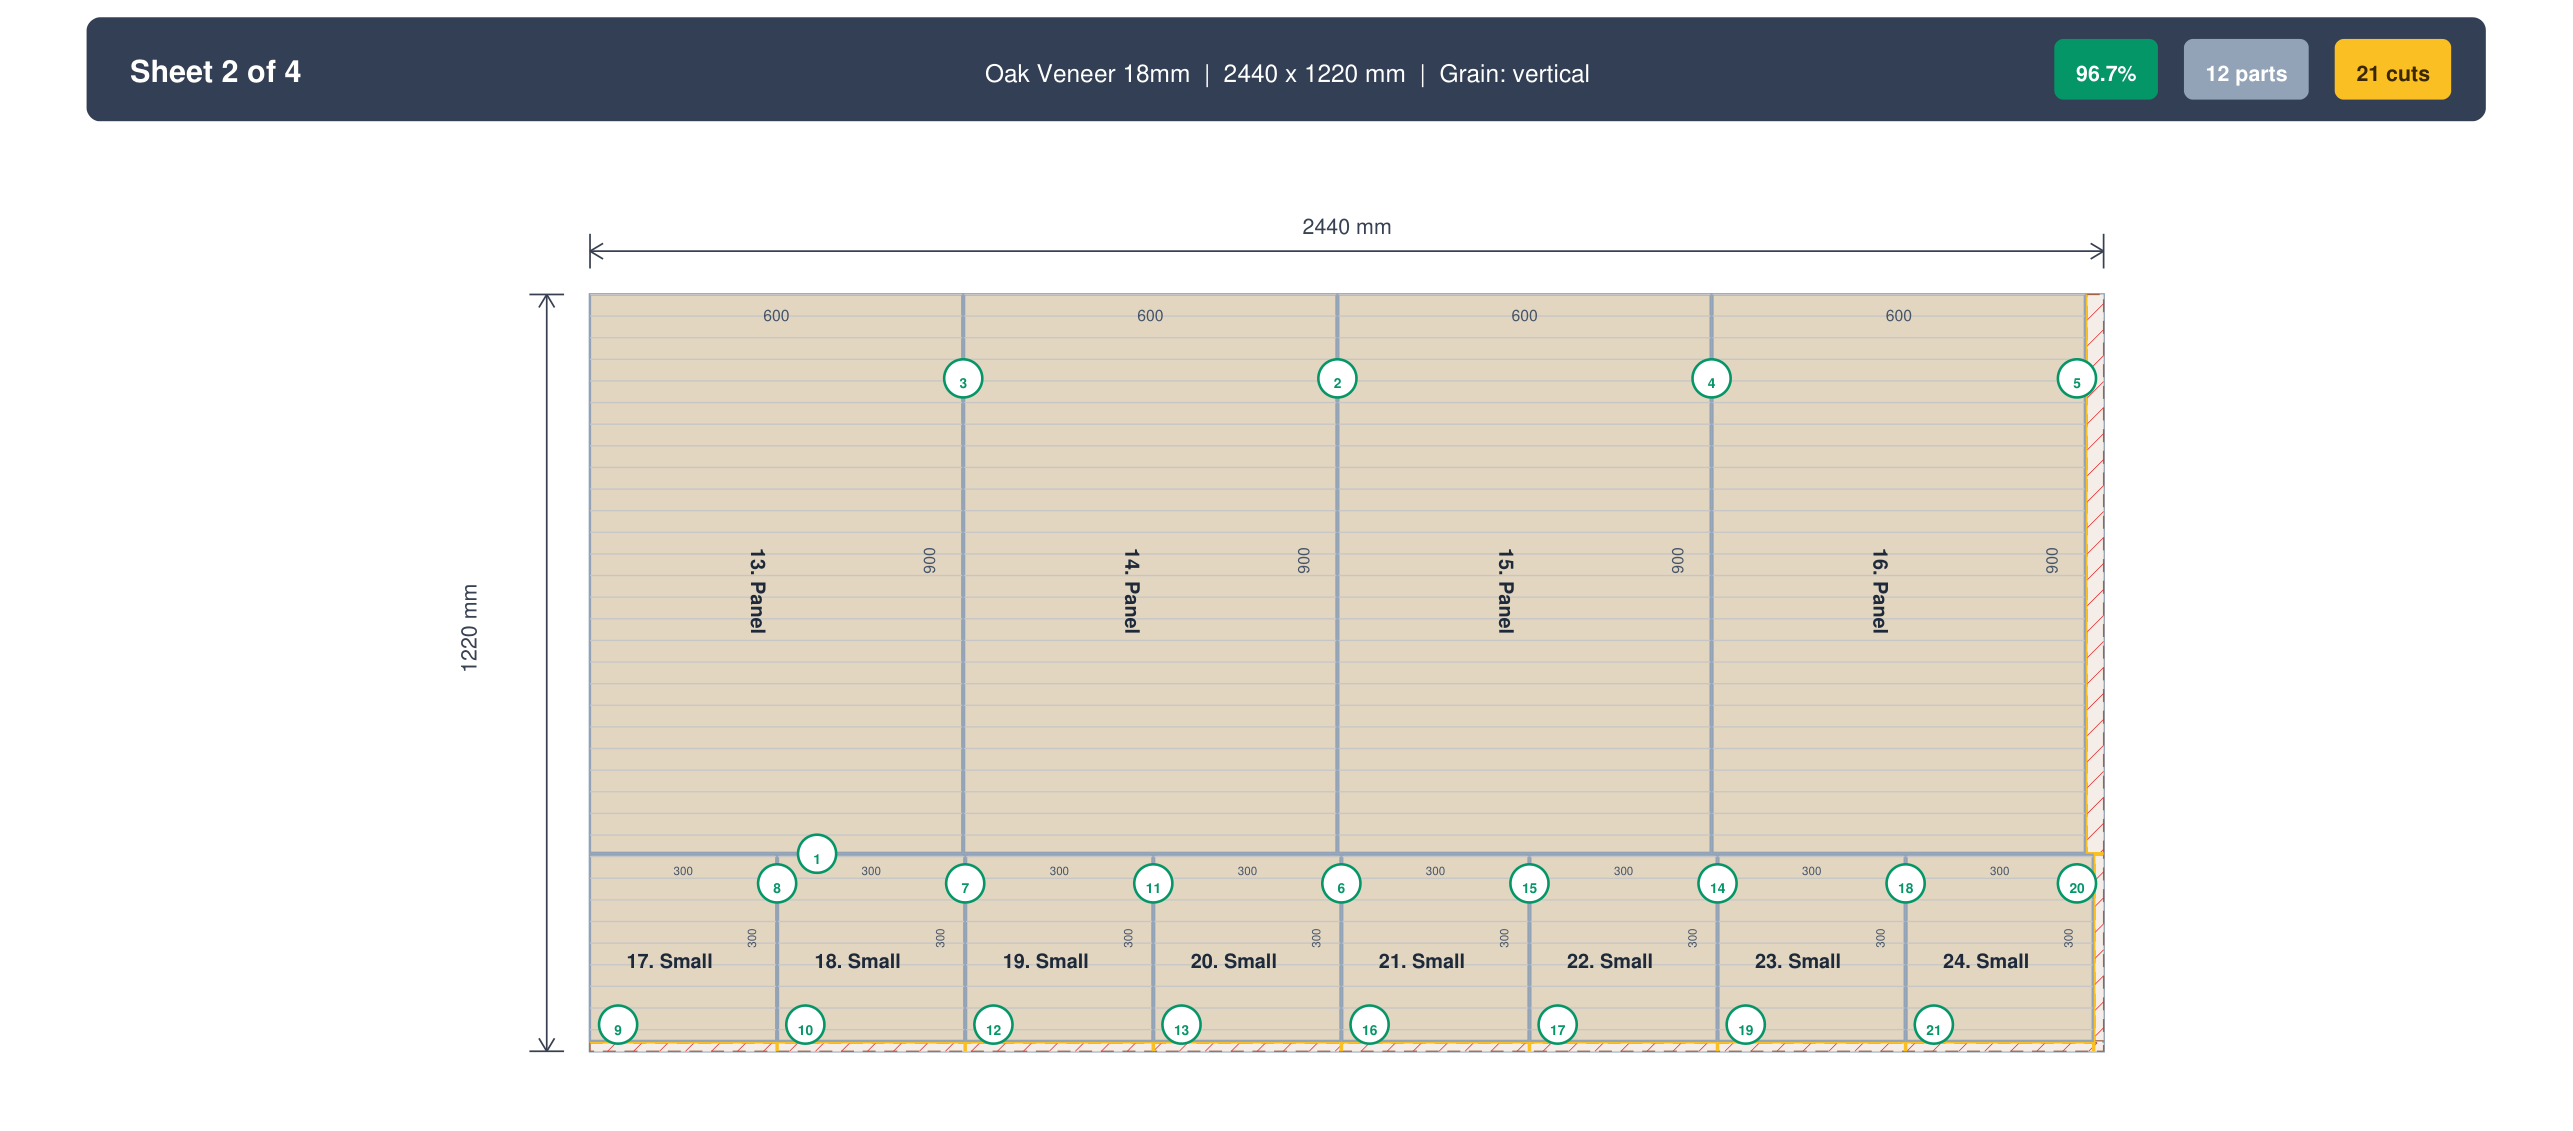
The planned version: trim 8 mm off two reference edges, then rip three 300 mm strips down the full length. The first two strips each give one 1800 mm side, and their tail ends become the cleats; the third strip takes the top and the bottom end to end. What remains is a clean band roughly 300 mm wide running the full length of the sheet: three of the four shelves crosscut from it in a tidy row, and the fourth comes out of the leftover of the top-and-bottom strip. One sheet, every offcut rectangular, and the largest leftover big enough to rack. Same parts, same saw: only the order of operations changed.
Turn your cut list into an efficient layout
Do the shop-side thinking, then let CutPlan solve the packing. Enter your parts, kerf, and offcuts and get an optimized sheet layout in seconds, free.
Open the optimizer →Key Takeaways
- Waste is mostly decided in planning, not at the saw: design parts to divide cleanly into the sheet you actually buy.
- Cut biggest parts first and keep every offcut rectangular and worth storing.
- Lock grain only where it shows; free the hidden parts for tighter nesting.
- Plan kerf and factory-edge trim into the layout from the start.
- Drop small parts into leftover windows instead of opening fresh sheets.
- Batch similar parts and projects, and shop your offcut rack before buying.
- Let an optimizer automate the one step that is pure math: the layout.
Frequently Asked Questions
What is a realistic amount of wood waste to aim for?
On typical cabinet and furniture work, 5 to 12 percent waste is a realistic target once you plan carefully, compared with 15 to 25 percent for a rushed manual layout. The gap comes from three costs that never disappear: kerf, the slice the blade turns to dust on every cut; the factory-edge trim most careful cutters take before cutting real parts; and grain constraints, which stop parts rotating into the tightest arrangement. None of those can be planned away entirely, so zero waste is not a real target, and chasing it wastes time instead of wood. What moves you into single digits is the order of operations: sizing parts to divide cleanly into the sheet you actually buy, cutting the biggest parts first, and dropping small parts into the leftover windows rather than opening a fresh sheet. If your last few jobs came in well above that band, the layout, not the saw, is usually where the material went.
Does a cutting plan really reduce waste, or is it just tidier?
A cutting plan genuinely reduces waste; the tidiness is a side effect. The reason is that the arrangement of cuts decides whether leftovers stay usable. A plan that makes early cuts full and edge-to-edge, keeps every offcut rectangular, groups parts that share a dimension into one strip, and fills the remaining pockets with small parts can fit the same job on fewer sheets than an unplanned session cutting identical parts. The unplanned version chases whatever part is next on the list, opens a fresh sheet for a handful of small pieces, and leaves L-shaped scraps nothing can use. Take the bookcase example above: the same sides, top, bottom, and shelves either come out of one sheet with a rackable leftover or spill onto a second sheet, purely depending on the sequence. Same parts, same saw, same blade. Only the plan changed, and the difference was a whole sheet.
Should I always cut the longest parts first?
Usually, yes, because cutting the largest parts first with full edge-to-edge cuts tends to leave behind the biggest and most reusable rectangles. The mechanism is simple: a long rip or crosscut across the whole sheet splits it into two clean pieces, and the big parts claim their space before anything else can fragment it. Chase a small part in the middle of a fresh sheet instead and you orphan a thin strip that no later part can use. The subtler rule, though, is not about length but about what each cut leaves behind. Before every cut, ask whether both resulting pieces are still rectangles you would happily store. Sometimes that favours ripping the long dimension first, sometimes a crosscut, depending on how the parts share dimensions. In the bookcase example, ripping three strips down the full length first is what keeps every leftover rectangular and the final one big enough to rack.
Is it worth keeping offcuts, or does the storage cost outweigh it?
It is worth it, but only for the useful pieces, and only with a system. An offcut is material you have already paid for, so reusing one is the cheapest sheet you will ever buy; the storage cost only wins when the rack turns into an unsorted pile that nobody digs through. For panel work, pieces above roughly 300 mm on a side earn their space, since they can still carry a real part such as a shelf or a drawer bottom. Keep smaller strips only if you genuinely use that size, and be ruthless about the rest. Write the real dimensions on each keeper in marker, store them upright and sorted by size, keep a short list of what is on the rack, and shop that list before every purchase. Handled this way, offcuts quietly save several sheets a year; hoarded without labels or a threshold, they just fill the shop and get thrown out later anyway.
When is it safe to ignore grain direction to save material?
It is safe to ignore grain on any part nobody will see: cabinet bottoms, backs, nailers, hidden shelves, and drawer boxes. On those parts grain is structural at most and cosmetic never, so forcing them to run one way removes layout options for no visible benefit. Every grain-locked part costs the layout a rotation it could otherwise use, and letting even a third of your parts rotate freely opens up far tighter nesting. Keep grain locked on everything visible, and be strictest where surfaces sit next to each other and need to read as one piece: door panels, drawer fronts, and a run of exposed sides. The practical habit is to mark each part on your cut list as grain-locked or free, and to be honest about which is which. That single column makes the decision explicit, and on most cabinet jobs it frees enough parts to save 5 to 10 percent of material without changing anything the customer sees.
How much material does saw kerf actually waste?
Saw kerf wastes more material than most people expect, because it is charged on every single cut. A 3 mm blade removes 3 mm of material each pass, so a sheet with 20 cuts loses about 60 mm to dust alone, roughly the width of a narrow strip you might have been counting on. A track saw at 2.4 to 2.8 mm is slightly kinder; a CNC router bit at 6 to 8 mm loses far more per cut. Kerf does not just shrink the leftover, it shifts every part after the first cut, which is why a layout drawn without it delivers parts a few millimeters short or a final part that no longer fits on the sheet. The fix is not to cut less. Measure your actual blade instead of guessing, enter that true kerf into your plan alongside the edge trim, and let the layout absorb the loss before you commit to the sheet.